
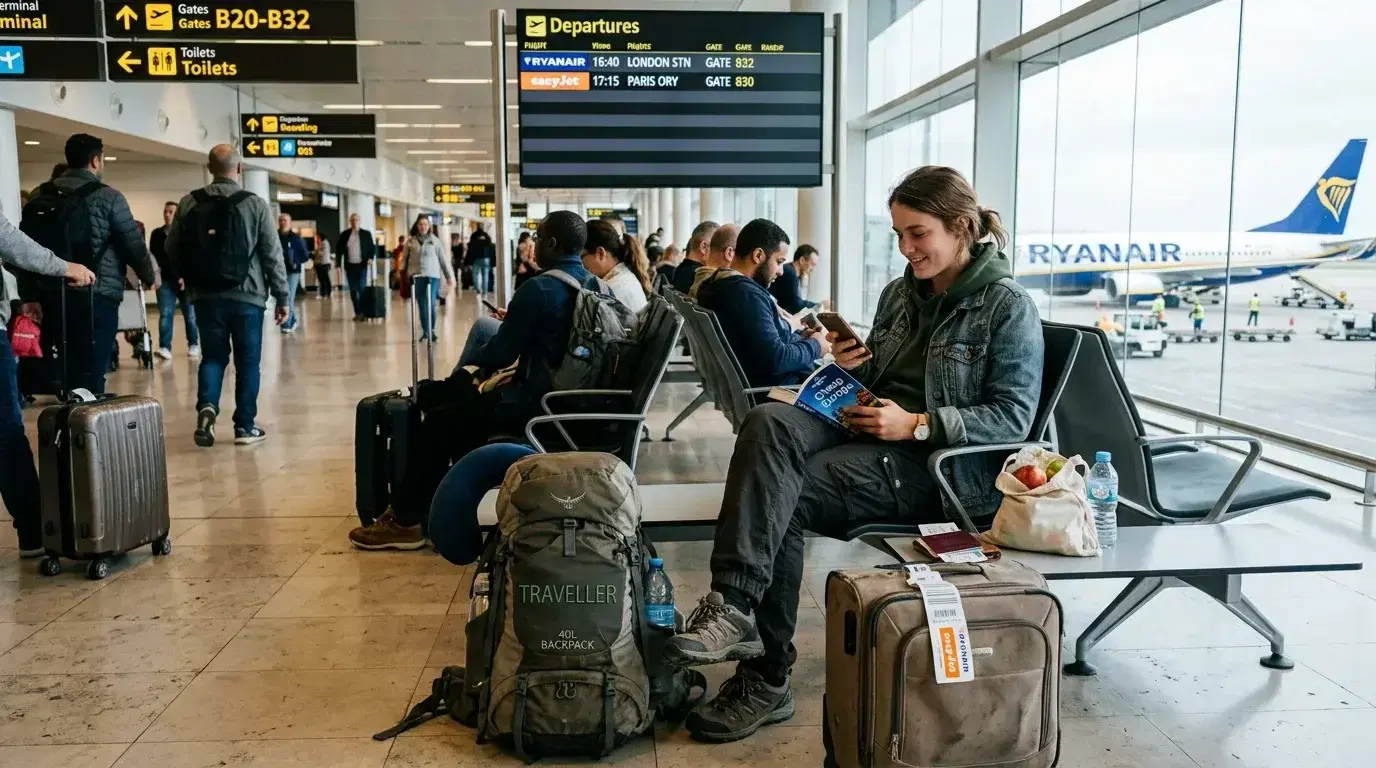
Standing in the security line for the first time, you don't want to be the person holding everyone up — fumbling with a bag, unsure what comes out and what stays in, hoping nothing you packed gets flagged. The checkpoint runs on a handful of straightforward airport security rules, and once you know them, the whole process takes minutes. This guide covers exactly what to have ready, the current liquids limit, what to take out of your bag, what you can't bring at all, and how to move through screening without stress on your first flight.
The Airport Security Rules Every First-Timer Should Have Down
Here's the short version before the details: bring an acceptable photo ID and your boarding pass, keep liquids to travel sizes in a quart bag, take large electronics out of your bag in standard lanes, wear and pack nothing prohibited, and follow the officer's instructions at the scanner. Master those five points and you're most of the way there.
The other half of a calm checkpoint is time. Rushing is what causes mistakes — forgotten liquids, a dropped boarding pass, a frantic repack. Give yourself a comfortable buffer so you're never sprinting. Our guide on How Early Should You Arrive at the Airport breaks down realistic timing for domestic and international flights. Getting to the terminal on schedule matters too; a pre-booked airport transfer, such as those from Transpovia in the cities it serves, means you arrive at a set time with security still ahead of you, not behind schedule before you've started.
Your ID and Boarding Pass: What Counts Now
You need a valid photo ID and a boarding pass to enter the checkpoint. For domestic U.S. flights, the ID rules changed recently: since May 7, 2025, adults must show a Real ID-compliant driver's license or an acceptable alternative such as a valid passport. A standard license that isn't Real ID-compliant — usually marked with a star in the corner if it is — no longer works on its own. If you're not sure yours qualifies, a passport always does.
Travelers under 18 generally don't need ID for domestic flights when flying with a companion who has one. For international trips, everyone needs a passport, and often a visa depending on the destination.
Your boarding pass can be printed or on your phone. Have both the pass and your ID in hand before you reach the officer, not buried in a bag, so the document check takes seconds.
The 3-1-1 Liquids Rule (and the Scanner Change Confusing Everyone)
The liquids rule is where first-timers slip up most, and recent headlines have muddied it. Here's what's actually true in 2026: the 3-1-1 rule still applies nationwide. Every liquid, gel, aerosol, cream, or paste in your carry-on must be in a container of 3.4 ounces (100 milliliters) or less, all containers must fit in a single quart-size clear zip-top bag, and you get one bag per person.
One detail catches people out: officers look at the container size, not how much is left in it. A 6-ounce bottle with a little shampoo still gets pulled. Toothpaste, deodorant paste, sunscreen, and liquid makeup all count as liquids and belong in the bag.
You may have read that the rule is going away. It isn't — but the screening routine is easing at some airports. Many large hubs now use computed tomography (CT) scanners that build a 3D image of your bag, and in those lanes you often don't need to remove your liquids bag or laptop at all. The 3.4-ounce limit itself hasn't changed, so pack for the strict version and treat a faster lane as a bonus. Two exceptions apply everywhere: medically necessary liquids and medications, and baby formula, breast milk, and toddler food, are allowed over the limit — just declare them to the officer for separate screening. An empty reusable water bottle also passes fine; fill it after security.
Electronics, Bins, and What to Take Out of Your Bag
At a standard checkpoint, laptops and large electronics come out of your bag and go in a bin by themselves, so the scanner gets a clear image. Tablets usually need to come out too; phones and small items can stay. In TSA PreCheck lanes and at CT-equipped checkpoints, you typically leave laptops and liquids inside the bag, which is a big part of what makes those lines faster.
Before you reach the scanner, empty your pockets completely — phone, keys, coins, wallet, and anything metal. Take off belts with metal buckles and bulky jackets and place them in a bin; light jackets can sometimes stay on, so follow the signs. Knowing what to take through airport security and having it organized before the belt keeps you from being the person re-running three bins.
What You Can and Can't Pack
When you're unsure whether something is allowed, the guiding logic helps: sharp objects, tools over a certain length, and anything that could be used as a weapon generally can't go in your carry-on but can travel in checked luggage. Liquids over the limit follow the same path — checked bag or leave them behind.
A few specifics worth knowing for a first trip:
-
Prohibited outright or checked only: most knives, scissors over the blade-length limit, and similar sharp items belong in checked bags, not carry-ons.
-
Firearms: must be unloaded, packed in a locked hard case in checked baggage, and declared to the airline at check-in — never in a carry-on.
-
Lithium batteries and power banks: these go in your carry-on, not checked luggage, because of fire risk in the hold.
-
When in doubt: the TSA "What Can I Bring?" search tool gives a definitive answer for any specific item.
Packing with screening in mind saves real time, especially on longer trips with more gear. Our checklist on What to Pack for a Stress-Free International Trip helps you sort carry-on from checked so nothing gets confiscated at the belt.
Getting Through the Scanner and Speeding Up the Line
The body screening step is quicker than most first-timers expect. Since July 2025, TSA no longer requires anyone to remove their shoes at standard checkpoints, though an alarm or a random enhanced screening can still prompt it. You'll walk through either a metal detector or a full-body imaging scanner; for the scanner, you raise your arms briefly while it captures an image. Empty pockets are the key to passing on the first try, since even a tissue or a coin can trigger a second look.
If you have a medical implant, a joint replacement, an insulin pump, or another device, tell the officer before you step in — it won't cause a problem, but it helps them screen you correctly. These TSA security tips smooth out the moments that otherwise cause fumbling.
For frequent flyers, TSA PreCheck is worth considering: it costs a fee, requires an application and background check, and gives you a dedicated lane where laptops and liquids stay in your bag. It isn't necessary for a first trip, but it pays off if you'll fly often.
Frequently Asked Questions
Do you have to take your laptop out of your bag at security?
It depends on the lane. In a standard screening lane, yes — laptops and large electronics go in a bin on their own. In TSA PreCheck lanes and at checkpoints with newer CT scanners, you can leave them inside your bag. Since you won't always know which lane you'll get, pack your laptop where it's easy to pull out just in case.
Can you bring a water bottle through airport security?
Not if it's full — water counts as a liquid and exceeds the 3.4-ounce limit. An empty bottle, though, passes with no issue. Bring it through empty and fill it at a fountain or bottle-filling station past the checkpoint, which also saves you buying water at terminal prices.
What happens if you accidentally bring something you shouldn't?
For an honest mistake like an oversized liquid, the officer will ask you to surrender the item, or return to check it if you have time and a checked bag. There's usually no fine for a genuine slip-up, but you'll lose the item if you can't check it. Serious prohibited items like weapons are treated far more strictly.
Is TSA PreCheck worth it for someone who rarely flies?
For an occasional traveler, it's optional. PreCheck saves time by letting you keep shoes, belts, laptops, and liquids in place in a faster lane, but it involves a fee and an enrollment appointment. If you only fly once or twice a year, standard screening is manageable; if you expect to travel regularly, it's a reasonable investment.
Walking Up to the Checkpoint
Have your ID and boarding pass in hand, your quart-size liquids bag and laptop easy to reach, and your pockets empty before you hit the front of the line. Follow the signs and the officer's directions, and don't rush — arriving early is what keeps the whole thing calm. Do that, and your first trip through airport security will be far shorter and simpler than you feared.


