
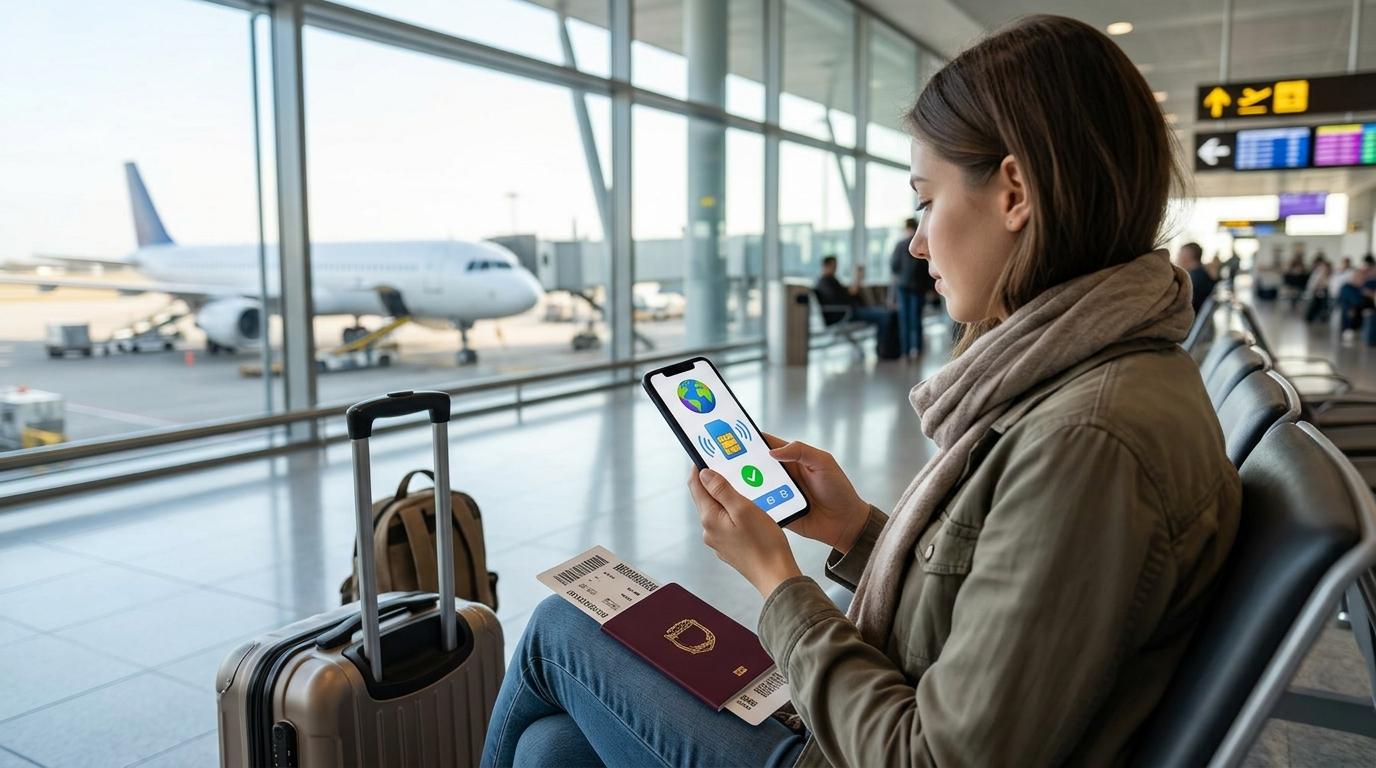
Most travelers should buy a travel eSIM somewhere between one and two weeks before they fly. That gives you time to pick a plan, confirm your phone works with it, and install the profile at home. Buying later is still possible, even after you land, and a few situations make it the smarter move. This guide shows when to buy travel eSIM plans for different trips, which step actually starts your plan, and how to avoid the small mistakes that leave people offline in the arrivals hall.
The Short Answer on Timing
If your dates are fixed, buy your eSIM about one to two weeks before departure. Install it two or three days before you leave, while you still have steady home wifi. Switch the line on once you land. This rhythm works for most trips because it leaves room to fix a problem. A QR code that refuses to scan is annoying on your couch. It is a real headache at midnight in a crowded terminal.
If your plans are still shifting, wait for your flight booking. If you leave tomorrow, buy today and install tonight. An eSIM usually reaches your inbox soon after payment, and a late purchase rarely ruins a trip. It only takes away your safety margin.
People also ask how early to buy eSIM plans when the trip is still months away. You can. Check the activation window first. Some providers expect the plan to be used within a set period after purchase, and windows of 30 and 60 days both exist. A plan that sits unused past that point may be recycled, and then you lose it. For a trip far in the future, buy closer to the date.
Why an eSIM Before Flight Beats a Scramble at the Airport
Installing an eSIM needs a stable internet connection. At home you have one. In a foreign airport you may not. Public wifi can be slow, crowded, or locked behind a sign-up form, and you will be tapping through setup screens with a tired brain and a bag on your shoulder.
Arriving with data already set up changes the first hour of a trip. You can open a map, check your hotel address, message your host, or confirm your ride before you reach the baggage belt. That matters most on late arrivals, in countries where you do not speak the language, and on trips with children. Buying early also keeps roaming charges off your bill, because your phone uses the eSIM for data instead of your home plan.
Early buying helps with choice too. You can compare plans on a calm evening and check the countries covered, the data amount, and the number of days. If you want to buy a travel eSIM and sort out your ground transport in the same sitting, Transpovia is a marketplace for airport transfers and private rides, and it also has an eSIM page.
You also get support on your own schedule. If something goes wrong, you can write to customer service on your couch, in your own time zone, with a working internet connection. That beats a taxi queue abroad.
Buying, Installing, and Activating Are Three Different Steps
Many timing mistakes start when people mix these up. Keep the three steps apart and the whole question gets easier.
Buying
Buying means you pay and receive a QR code, usually by email. On most plans the validity period does not begin at purchase. Some plans do start billing on the day you buy, and certain global plans work that way. Read the plan page before you pay.
Installing
Installing adds the eSIM profile to your phone. It needs internet, and you can do it days or weeks before the trip. On most plans installing does not start the clock. One catch matters here. With most travel eSIMs you cannot move the same profile to another phone after installation. Install it on the device you will carry.
Activating
Activating starts the plan. For most travel eSIMs this happens when your phone first connects to a supported network in the destination country, with data roaming switched on for the eSIM line. A few plans use a manual start, and those can begin before you leave. Check the instructions that came with yours.
Plans That Cover Your Home Country
Regional and global plans sometimes include the country where you live. If yours does, the eSIM may connect at home and start the clock early. In that case install it on the day you fly, or keep the line switched off for the whole flight. The same goes for stopovers. Keep the eSIM line off during a layover if the plan starts on first connection.
Buy eSIM Before or After Landing
Buying before you travel is the better default. Buying after you land is a fallback, and it has its place.
You might wait if you forgot, if your phone was locked and needed fixing, or if your trip came together in a day. You might also visit a country where a local carrier sells a tourist eSIM only on arrival. Some carriers ask for a passport, proof of local residence, or a local bank card. Check the rules before you count on that route.
If you buy after landing, connect to airport wifi first. Pay, install, then switch the eSIM line on and turn on data roaming for it. Make the eSIM your mobile data line and leave data roaming off on your main SIM during this step.
I bought mine at the gate on airport wifi and it worked fine. I would not try that again with two kids and four bags.
Airport counters and local SIM stands can work too. They can mean a queue after a long flight and sometimes higher prices, and you still need to swap or set up the card on the spot.
Best Time to Purchase eSIM for Different Trips
The best time to purchase eSIM plans depends on how long you travel and how many borders you cross.
Weekend City Break
Buy a few days ahead and install the evening before. Short trips leave no room for waste. Choose a plan that matches the exact length you need plus a little extra.
Long Vacation or Work Stay
Buy one to two weeks ahead. You usually cannot test mobile data at home, since most travel plans connect only abroad. You can still confirm that the profile installed correctly and that your phone shows the new line. Pick a plan a little longer than your trip, because time zones and a late return can eat a day.
Trips With Several Countries
Choose a regional plan, check that every country on your route is listed, and buy it before you leave. One profile means no new plan at each border.
Sales and Distant Trips
A discount a month before departure is often safe to use if the plan's activation window covers your travel date. Anything further out carries a risk, because unused plans can expire.
Checks to Make Before You Pay
Start with the phone. Most recent phones support eSIM, and you can check in a minute. On an iPhone open Settings, then Cellular, and look for the option to add an eSIM. You can also dial *#06#. If an EID number appears, the phone supports eSIM.
Next, confirm the phone is unlocked. A phone bought through a carrier may be locked to that network, and a locked phone will refuse a foreign eSIM. Ask your carrier to release it well before the trip, because that can take days.
Then match the plan to the trip. Count the countries, the days, and the data you expect to use for maps, messages, and ride apps. Read the refund and expiry terms too, because plans change.
Keep your regular SIM in place for calls and text codes. Turn off data roaming on that line while you are abroad, otherwise your home carrier may bill you for it. On iPhones running iOS 26, a travel eSIM bought before you leave may prompt you to say if you will use it at home or while traveling. Answer that screen with care.
Your Travel Day Routine
At home, install the eSIM on wifi and rename the line to Travel. At the airport, leave it off. After landing, switch it on, select it for mobile data, turn on data roaming for that line, and give the phone a minute to find a network.
Then open your booking confirmation and your driver's contact details. If you booked an airport transfer, having data right away makes it easier to read pickup instructions or tell the driver about a delayed flight.
Mistakes That Cost Travelers Data Days
Most eSIM trouble comes down to a handful of small errors. Knowing them takes five minutes and saves a stressful arrival.
The first is installing on the wrong phone. A profile tied to an old handset cannot follow you to a new one. Finish any phone swap before you buy. The second is skipping the activation terms. Two plans with the same price can start counting days at different moments, and only the plan page tells you which is which.
The third is leaving data roaming off on the eSIM line. The profile may look perfect on screen and still stay silent before that switch is on. The fourth is switching the line on during a layover. A short stop in a transit country can start a plan meant for your final stop, and you pay for days you never use.
The fifth is buying a plan that is too short. Flights that land after midnight, a late checkout, or a delayed return can push your real trip past the plan by a day. Add a buffer day when the price difference is small.
The last is forgetting the people traveling with you. Each phone needs its own profile, and each profile needs its own install. Do it together in one evening, and the family arrives with every phone online.
FAQs
How early can I buy a travel eSIM?
You can usually buy at any time, though activation windows apply on some plans. A safe habit is to buy one to two weeks before departure, and never more than a month or two ahead without reading the expiry terms.
Is it better to buy an eSIM before or after landing?
Before is better for most people. You install on stable wifi and arrive connected. Buying after landing works when you have no other option, and you should connect to airport wifi first.
Should I install my eSIM before the flight?
In most cases yes, provided the plan will not connect at home and start early. Install at home, keep the line off, and switch it on at your destination.
Does my plan start when I pay?
On most travel eSIMs it starts when the phone first connects abroad. Some plans, including certain global ones, start billing at purchase. The plan page tells you which kind you bought.
What if my trip dates change after I buy?
Check the provider's terms on activation windows and refunds. If the new date falls inside the window, you lose nothing. If it does not, contact support early.
Buy Early, Install at Home, Switch On After Landing
The best time to buy a travel eSIM is a week or two before you fly. Install it a couple of days ahead on home wifi, keep the line off at the airport, and turn it on when the wheels touch down. Buy later only when you must, and read the activation terms before you pay in any case.
When you book your airport transfer with Transpovia, add a quick eSIM check to the same planning session. Your ride and your data will both be ready when you step off the plane.


