
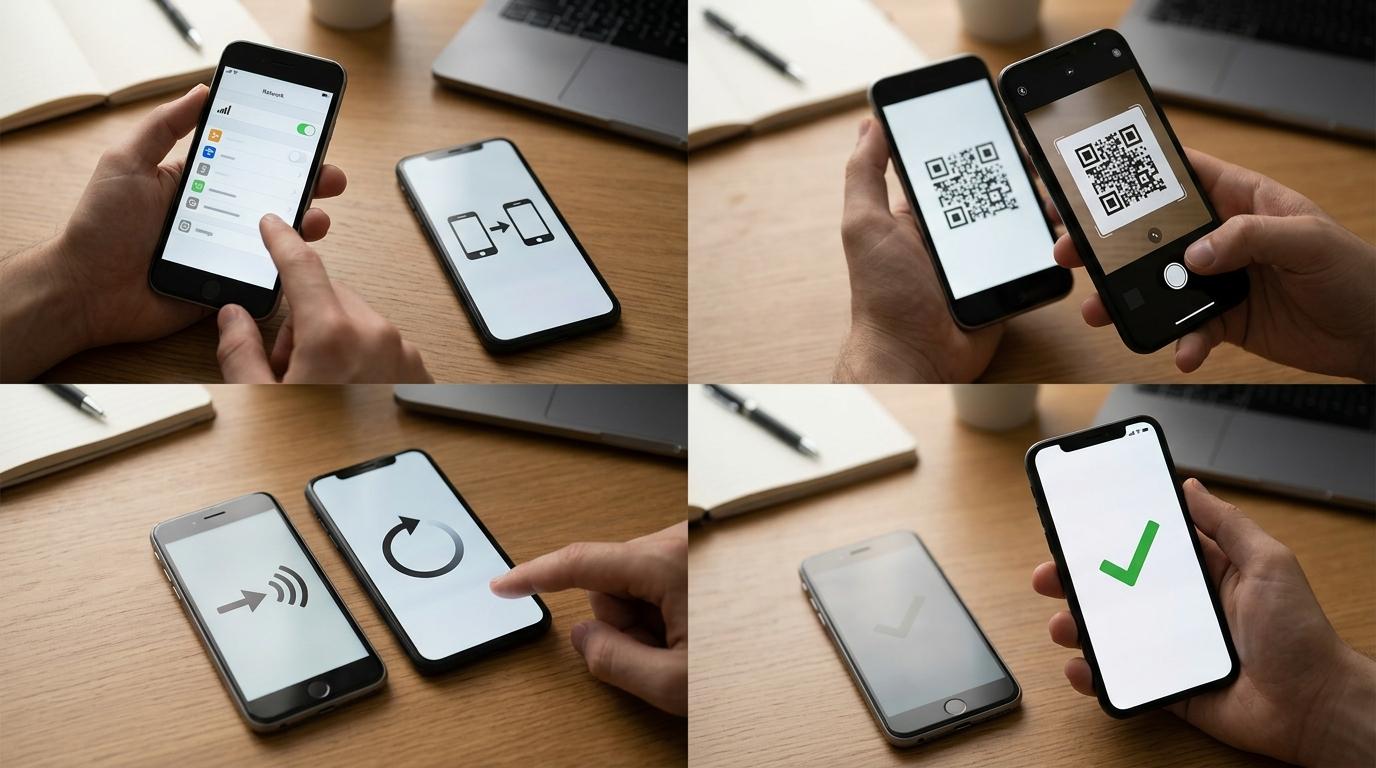
You just got a new phone, and you want your number and data working on it without losing service or getting stuck without a SIM card to swap. Moving an eSIM is a little different from moving a plastic card, but it isn't hard once you know which method fits your phone and carrier. This guide shows you how to transfer eSIM to new phone setups on iPhone and Android, what to do when the built-in transfer option doesn't appear, and why travel eSIMs often follow different rules than your regular phone line.
Before You Move Your eSIM: A Quick Checklist
Most failed transfers happen because of something that could have been checked first. Spend a few minutes on these before you begin.
Confirm the new phone supports eSIM. Most recent iPhones, Google Pixels, and Samsung Galaxy flagships do, but support varies by exact model and by the region where the phone was sold. Some budget and regional variants skip eSIM entirely.
Make sure the new phone is unlocked or locked to the same carrier. A phone locked to another carrier won't accept your eSIM, no matter which transfer method you use.
Update both phones. Built-in transfer tools depend on recent software. On iPhone, eSIM Quick Transfer requires iOS 16 or later, and running the latest version on both devices avoids most glitches.
Keep the old phone charged, unlocked, and nearby. Many transfer methods require you to confirm the move on the old device.
Connect to stable Wi-Fi. The new phone has to download the eSIM profile from your carrier.
Don't delete the eSIM from your old phone first. This is the most common and most expensive mistake. Deleting an eSIM removes the profile, and depending on your carrier, you may need a new QR code or a support call to get it back. Let the transfer process handle the old phone for you.
Have your carrier account login ready. If the automatic transfer fails, you'll likely need it to request a new eSIM.
Which Transfer Method Should You Use?
The right method depends on what you're moving from and to, and whether your carrier supports direct transfers.
|
Your situation |
Method most likely to work |
|
Old iPhone to new iPhone |
eSIM Quick Transfer during setup or in Settings |
|
Android to Android (Pixel or Samsung) |
"Transfer SIM from another device" in SIM settings |
|
iPhone to Android or Android to iPhone |
Direct transfer only with certain carriers and recent devices; otherwise a new QR code from your carrier |
|
Old phone lost, broken, or unavailable |
Contact your carrier for a replacement eSIM |
|
Prepaid travel eSIM |
Usually not transferable; check your provider's policy |
If your carrier doesn't support built-in transfers, every route ends in the same place: your carrier issues a new eSIM profile, usually as a QR code or through its app, and you install that on the new phone.
How to Transfer eSIM to New Phone on iPhone
Apple offers the smoothest path, provided your carrier supports eSIM Quick Transfer. If you're wondering how to transfer eSIM to new iPhone models specifically, you have two chances to do it: during initial setup or anytime afterward.
During Initial Setup
-
Turn on the new iPhone and place it next to your old iPhone.
-
Follow the Quick Start prompts and sign in with your Apple Account.
-
When you reach the Set Up Cellular screen, choose the phone number you want to move. If your carrier supports it, you'll see an option to transfer from your nearby iPhone.
-
On the old iPhone, confirm the transfer. If asked, enter the verification code shown on the new iPhone.
-
Wait for activation. It usually takes a few minutes, and the line stops working on the old phone once it goes live on the new one.
After Setup Is Complete
Skipped the cellular step or set the phone up as new? No problem.
-
On the new iPhone, go to Settings > Cellular (or Mobile Data in some regions) and tap Add eSIM or Add Cellular Plan.
-
Choose Transfer From Nearby iPhone.
-
On the old iPhone, tap Transfer when the prompt appears, or enter the verification code shown on the new phone.
-
Wait for the plan to activate on the new iPhone.
If neither option appears, your carrier likely doesn't support Quick Transfer for your account. In that case, request a new eSIM from your carrier, then go to Settings > Cellular > Add eSIM and choose Use QR Code on the new iPhone.
How to Transfer eSIM to New Android Phones
Android transfers are more fragmented than iPhone transfers, because the steps depend on the phone maker, the Android version, and the carrier. Google Pixel phones and recent Samsung Galaxy models include built-in tools, but your carrier still has to support them. When it doesn't, the transfer option either won't appear or will fail partway through.
Google Pixel
-
On the new Pixel, open Settings > Network & internet > SIMs.
-
Tap Add SIM or the plus icon.
-
Select Transfer SIM from another device.
-
Follow the prompts on both phones, which may include scanning a code or confirming on the old device.
Samsung Galaxy
-
On the new Galaxy, open Settings > Connections > SIM manager.
-
Tap Add eSIM.
-
Choose Transfer SIM from another device.
-
Confirm on your old phone when prompted.
Menu names vary slightly between Android versions and One UI releases. If you can't find the option, search "SIM" in the Settings app.
If you're on a different Android brand or the built-in tool won't cooperate, use your carrier's app or contact the carrier to request a new eSIM. You'll then scan the QR code or enter the activation details manually through the Add eSIM menu.
Moving an eSIM Between iPhone and Android
Switching platforms used to mean a carrier call every time. That's starting to change. Some carriers now support direct transfers between recent iPhones and certain Android phones, such as newer Pixel models running current software. Availability is still limited and varies by carrier and country.
For most people, the reliable way to move eSIM to new phone platforms looks like this:
-
Contact your carrier or open its app and request an eSIM for a new device.
-
Wait until you have the new QR code or activation details in hand.
-
Install the eSIM on the new phone through its Add eSIM menu.
-
Confirm that calls, texts, and data work before removing anything from the old phone.
Many carriers deactivate the old eSIM automatically when the new one goes live, so you may not need to delete it at all.
What About Travel eSIMs?
This part catches a lot of travelers off guard. Your regular carrier line and a prepaid travel eSIM are very different products when it comes to moving them.
A carrier eSIM is tied to your account, so the carrier can reissue it to a new phone. A prepaid travel eSIM is often a one-time installation. Many travel eSIM providers state plainly that once their eSIM is installed on a device, it can't be moved to another phone, and deleting it means losing it, along with any remaining data. Some providers handle reissues case by case through support, but you shouldn't count on it.
That leads to some practical advice:
Install the travel eSIM on the phone you'll actually travel with. If you're planning to upgrade before a trip, wait until the new phone is set up before installing your travel data plan.
If you upgrade mid-trip, keep the old phone. The remaining data still works there, and you can share it with your new phone through the old phone's personal hotspot until the plan runs out.
Never delete a travel eSIM to "clean things up" while it still has valid data, unless you're sure you won't need it.
When in doubt, ask the provider before you touch anything. A two-minute support chat can save you from buying a second plan.
If you're picking a travel eSIM for an upcoming trip and expect to replace your phone soon, factor that timing into your purchase rather than discovering the single-install rule after the fact.
When the Transfer Doesn't Work
Most problems fall into a few patterns.
The transfer option doesn't appear. Your carrier probably doesn't support direct transfers for your account or device. Request a new eSIM from the carrier instead.
The transfer stalls on "activating." Give it 10 to 15 minutes on Wi-Fi, then restart the new phone. Some carriers take longer to process the switch on their end.
The eSIM installed, but there's no signal. Installing an eSIM and having active service are two separate things. Check that the line is turned on in your cellular or SIM settings, and that it's selected as the line for calls and mobile data. Restarting the phone also helps.
Data doesn't work, but calls do. Check your mobile data settings, and if you're abroad with a travel eSIM, confirm that data roaming is on for that line. Many travel eSIMs require roaming to be enabled to connect to local networks.
The old phone lost service, but the new one never activated. Contact your carrier right away. They can push a fresh profile to your new phone.
After the Transfer: Small Things That Matter
Once the new phone has service, make a test call, send a text, and load a webpage on mobile data with Wi-Fi turned off. Then check a few details people tend to forget.
Two-factor authentication codes sent by SMS will now go to the new phone, which is good news. But if you also use an authenticator app, move those accounts separately, since a SIM transfer doesn't carry them over.
If you use dual SIM, such as your home line plus a travel data plan, review your default line settings. Phones sometimes reset which line handles data, calls, and iMessage or RCS after a transfer.
Finally, don't erase or trade in your old phone until you've confirmed everything works on the new one. That old device is your safety net if something needs to be redone.
Frequently Asked Questions
Can I transfer an eSIM if my old phone is lost or broken?
Yes, for a regular carrier line. Contact your carrier, verify your identity, and ask for a replacement eSIM for your new device. Built-in transfer tools won't help here because they need the old phone to confirm the move. For prepaid travel eSIMs, the outlook is usually worse. Many providers can't recover an eSIM from an unusable phone, so you may need to buy a new plan.
Can I use the same eSIM on two phones at once?
No. An eSIM profile works on one device at a time. When you transfer it, the line deactivates on the old phone. If you want service on two devices, such as a phone and a tablet or smartwatch, your carrier would need to set up a separate line or a number-sharing service, where available.
How long does an eSIM transfer take?
A direct transfer between compatible phones usually finishes within a few minutes. If you need a new QR code from your carrier, the overall process depends on how quickly the carrier responds, which can range from minutes through an app to longer if you need to reach customer support or visit a store.
Conclusion
The key to a smooth eSIM transfer is order: confirm that the new phone is compatible and unlocked, start the transfer from the new phone, and leave the old eSIM alone until the new one works. Built-in tools on iPhone, Pixel, and Galaxy handle most upgrades in minutes when your carrier supports them. When they don't, a fresh eSIM from your carrier gets you to the same result.
For travelers, the bigger lesson is that travel eSIMs often don't move at all. Plan phone upgrades around your trip, install your travel data on the device you'll carry, and keep the old phone close if you switch mid-journey.
"I almost deleted the eSIM off my old phone before setting up the new one. Glad I didn't, because the transfer just popped up and handled everything in about five minutes."


