
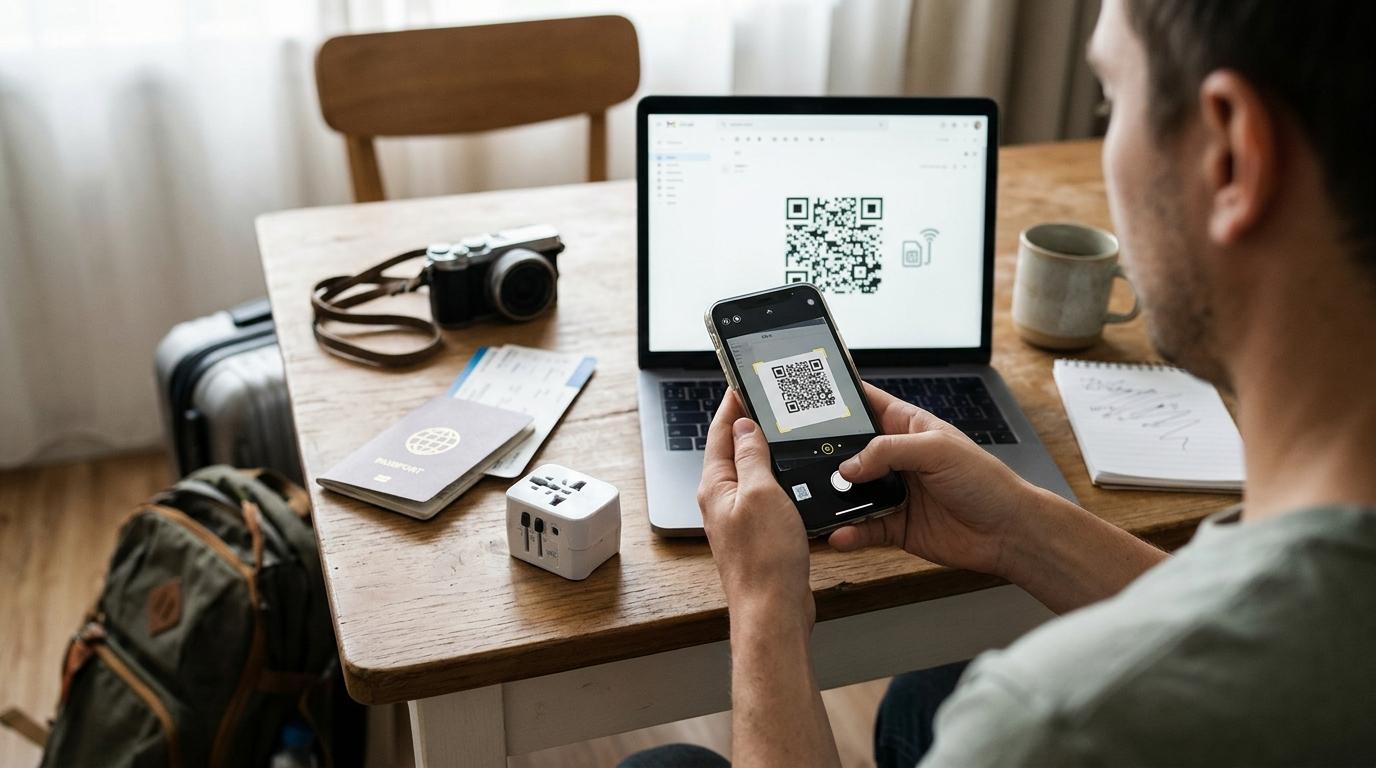
You land, switch off airplane mode, and nothing happens. No maps, no messages, no way to check where your driver is waiting. That moment is exactly what a travel eSIM is supposed to prevent, but only if it's ready before you leave. The smart move is to set up eSIM before travel, while you're still at home on reliable Wi-Fi with time to fix anything that goes wrong. This guide walks through the whole process: checking your phone, picking a plan that fits the trip, installing it correctly, and switching it on when you arrive so you're connected within minutes of landing.
What Setting Up an eSIM Actually Involves
An eSIM is a SIM built into your phone. Instead of inserting a plastic card, you download a digital profile from a provider, and your phone uses that profile to connect to a mobile network. Most phones that support eSIM can store several profiles, which is why you can keep your home number and add a travel plan alongside it.
The part that trips people up is that "setting up" happens in two stages, and they don't have to happen at the same time.
Installing means downloading the eSIM profile onto your phone. This usually takes a minute or two and requires an internet connection, so it's best done at home.
Activating means the eSIM actually connects to a network and your data plan starts working. For most travel eSIMs, that happens once you reach your destination and the eSIM finds a supported local network.
So an eSIM can be fully installed and still show "No Service" while you're at home. That's normal. Having the eSIM on your phone is not the same as having mobile service, and you shouldn't panic if your travel line looks dead before the flight.
Travel eSIM vs. Roaming vs. a Local SIM
It helps to know what you're choosing between, because each option behaves differently once you're abroad.
|
Option |
How it works |
Things to watch |
|
Home carrier roaming |
Your regular plan works abroad through partner networks |
Daily or per-MB fees can add up quickly; check your carrier's international terms |
|
Local physical SIM |
You buy a SIM card in the destination country |
Requires finding a shop after arrival, sometimes ID registration, and a free SIM slot |
|
Travel eSIM |
You buy and install a digital plan before departure |
Your phone must support eSIM and be unlocked; most plans are data-only |
A travel eSIM's biggest practical advantage is timing. You can sort out connectivity days before you leave instead of hunting for a SIM kiosk after a long flight.
Check Your Phone Before You Buy Anything
No plan will help if your phone can't use it, so start here.
Does Your Phone Support eSIM?
Most recent flagship and mid-range phones support eSIM, including iPhone XS and later, Google Pixel models from the last several years, and many Samsung Galaxy devices. But support depends on the exact model and the region it was sold in, not just the brand.
A few quick ways to check:
-
On an iPhone, go to Settings, then Cellular (called Mobile Data or Mobile Service in some regions). If you see an option to add an eSIM or a cellular plan, your phone supports it.
-
On Android, look under Settings for Network & internet, Connections, or SIM manager, and check for an option to add or download an eSIM.
-
On many phones, dialing *#06# displays an EID number. If an EID appears, the phone has eSIM hardware.
Regional differences matter more than people expect. iPhones sold in the US have been eSIM-only since the iPhone 14, and the iPhone 17 lineup is eSIM-only in about a dozen markets, including the US, Canada, Mexico, Japan, and several Gulf countries. On the other hand, most iPhone models sold in mainland China don't support eSIM at all, and the same is true for many Hong Kong and Macau models. If you bought your phone abroad or secondhand, double-check before buying a plan.
Is Your Phone Carrier-Unlocked?
A phone that's locked to your home carrier will only accept that carrier's SIMs and eSIMs. A travel eSIM from another provider simply won't work on it.
Phones bought outright are often unlocked, but not always. Phones on installment plans or bought through a carrier deal are more likely to be locked. On an iPhone, you can check under Settings, General, About, where Carrier Lock should say "No SIM restrictions." On Android, the quickest way is usually to ask your carrier directly. If your phone is locked, request an unlock well before your trip, since carriers can take time to process it and may require the device to be fully paid off.
Choosing a Plan That Fits Your Trip
Travel eSIM plans vary a lot, and the cheapest one isn't always the right one. A few details make the real difference.
Coverage. Check that the plan covers every country on your itinerary. If you're crossing borders, a regional plan can save you from juggling several eSIMs. Some providers also list which local networks they connect to, which is useful if you know a particular network is stronger where you're going.
Data allowance. Think about how you actually use your phone. Navigation and messaging use relatively little data, while video calls, streaming, and uploading photos use much more. If you plan to use your phone as a hotspot for a laptop, size up.
Validity period. Plans run for a set number of days. Pay attention to when the clock starts. Some plans begin when the eSIM first connects to a network in your destination, while others start at purchase or installation. That difference decides how early you can safely install.
Calls and texts. Most travel eSIMs are data-only. You won't get a local phone number, but you can still use WhatsApp, iMessage, FaceTime, and other internet-based apps. If you need a local number for traditional calls or SMS, look specifically for a plan that includes them.
Hotspot support. Not every plan allows tethering. If you need to share your connection, confirm it before you buy.
Top-ups. Running out of data halfway through a trip is common. Plans that let you add data to the same eSIM are easier than buying and installing a new one abroad.
If you haven't picked a plan yet, you can compare destination options and get started with travel eSIM setup before you pack.
How to Set Up eSIM Before Travel, Step by Step
Once you've bought your plan, the provider will give you a QR code, an installation link, an in-app install button, or a set of manual details (usually an SM-DP+ address and an activation code). Connect to stable Wi-Fi before you begin. Installation needs internet access, and a dropped connection mid-download can cause problems.
On an iPhone
-
Open Settings and tap Cellular (or Mobile Data, or Mobile Service, depending on your region and iOS version).
-
Tap Add eSIM or Set Up Cellular.
-
Tap Use QR Code and scan the code from your provider. If you were given manual details instead, choose Enter Details Manually.
-
Follow the prompts to add the plan.
You can't point your iPhone's camera at a QR code that's on its own screen, so display the code on a laptop, tablet, or a printout. On iPhones running iOS 17.4 or later, you can also touch and hold a QR code in an email or webpage and tap Add eSIM, and some providers send a one-tap install link that skips the QR code entirely.
On an Android Phone
The exact menu names vary by manufacturer, but the process is similar.
On a Google Pixel, go to Settings, Network & internet, then SIMs, and tap the option to add a SIM or download an eSIM. On a Samsung Galaxy, go to Settings, Connections, then SIM manager, and tap Add eSIM. Choose to scan a QR code, or enter the activation code if your provider gave you one.
Label Your Lines and Set the Defaults
This small step prevents a lot of confusion later. Once the eSIM is installed, your phone will ask you to name it. Call it something obvious like "Travel" so you're never guessing which line is which.
Your phone will also ask which line to use for calls, texts, iMessage or FaceTime, and cellular data. For now, keep your home line as the default for everything. You'll switch data to the travel eSIM when you arrive. If you don't want the eSIM to try connecting before then, you can turn the travel line off until landing.
When to Install Your Travel eSIM
For most trips, one to three days before departure is the sweet spot. That gives you time to contact the provider if the installation fails, without risking a plan that starts counting down too early.
Check your plan's terms on validity first. If the plan only starts when it connects in your destination, installing a week early is fine. If it starts at installation, wait until the day before you fly.
Two cautions apply to almost every provider. First, a QR code can usually be used only once, so don't scan it "just to test" on a different phone. Second, don't delete the eSIM profile after installing it. In many cases, a removed eSIM can't be reinstalled, and you'd need the provider to issue a new one. Save your QR code and activation details somewhere you can reach offline, like a screenshot or a note, in case you need support during the trip.
What to Do When You Land
Once the plane is on the ground, a few toggles get you online.
Turn on the travel eSIM line if you switched it off earlier. Then set it as your cellular data line, so your phone uses the travel plan for internet instead of your home plan.
Next, turn on data roaming for the travel eSIM. This sounds backward, but many travel eSIMs connect through partner networks and won't work without it. You won't pay roaming fees on that line, because the data is billed by your eSIM provider.
Finally, make sure data roaming is off on your home line. That's the setting that prevents your regular carrier from charging you for international data.
Give the phone a minute to find a network. If nothing shows up, toggling airplane mode on and off usually prompts it to search again. Within a few minutes you should be able to load maps, message your hotel, or check on your airport transfer before you've even reached baggage claim.
Keeping Your Home Number Active Without Racking Up Charges
One of the best parts of a travel eSIM is that you don't have to give up your regular number. Most eSIM-capable phones can run two lines at the same time, so your home SIM can stay on for incoming calls and texts while the travel eSIM handles data.
There's a catch worth knowing. Even with data roaming off, your home carrier may still charge you for calls you answer or texts you send on your home number abroad. Rates depend entirely on your carrier, so check before you travel. If you want to avoid any charges, you can turn off your home line completely and rely on internet-based apps. WhatsApp, iMessage, and similar services generally keep working on the travel eSIM's data, since they're tied to your account rather than the SIM providing the data. Some carriers also support Wi-Fi Calling abroad, though whether those calls are free varies by carrier.
If Your eSIM Won't Connect
Most problems come down to a setting, not a broken eSIM. Work through these in order.
Check the data line. Make sure the travel eSIM, not your home line, is selected for cellular data.
Check data roaming. It needs to be on for the travel eSIM line.
Restart the phone. It sounds basic, but it fixes a surprising number of connection issues after landing.
Select a network manually. If automatic selection keeps failing, turn it off in the eSIM's network settings and pick one of the local networks your provider supports.
Check APN settings. Some providers require a specific APN (the setting that tells your phone how to reach the provider's data network). If your provider listed one in the installation instructions, make sure it's entered.
Look for updates. On an iPhone, a carrier settings update sometimes appears under Settings, General, About. Installing pending system updates before the trip also helps.
If you've tried all of this and still have no data, contact your eSIM provider's support. Connect to airport or hotel Wi-Fi first, and have your order details and the eSIM's ICCID or EID number ready, since they'll usually ask for it.
Frequently Asked Questions
Can I reuse the same travel eSIM on my next trip?
Sometimes. Some providers let you top up an existing eSIM or add a new plan to it, which means you can keep the profile installed and buy more data before your next trip. Others issue a new eSIM for every purchase. If you travel often, it's worth choosing a provider that supports top-ups so you don't fill your phone with old profiles. When you finally do remove an old one, make sure its data has run out and you won't need it again.
What happens if my data runs out in the middle of a trip?
Your travel line will usually stop working for data, but nothing else changes on your phone. If your plan supports top-ups, you can add data through the provider's app or website, ideally over Wi-Fi. If it doesn't, you'll need to buy a new plan and install it, which is easier on hotel Wi-Fi than in the street. To avoid the scramble, check your remaining data every few days and turn off automatic photo backups and app updates over cellular.
Can I install one eSIM on two phones, or set one up for my family?
No. Each eSIM profile is tied to a single device, and the QR code typically works only once. If you're traveling with a partner or kids who need their own data, each phone needs its own eSIM plan. Alternatively, if your plan allows hotspot use, one person can share a connection with the group, though that drains data faster and only works while you're close together.
Conclusion
The easiest trips are the ones where your phone just works when you land. Getting there takes about ten minutes of preparation: confirm your phone supports eSIM and is unlocked, pick a plan that matches your route and data habits, and install it at home on Wi-Fi a day or two before you leave.
Then, after you land, set the travel line for data, turn on its data roaming, and turn off roaming on your home line. Those three switches are the difference between arriving connected and spending your first hour hunting for Wi-Fi.
"I installed it the night before my flight, flipped two switches after we landed, and had maps open before I got to passport control. I'm never buying an airport SIM again."


