
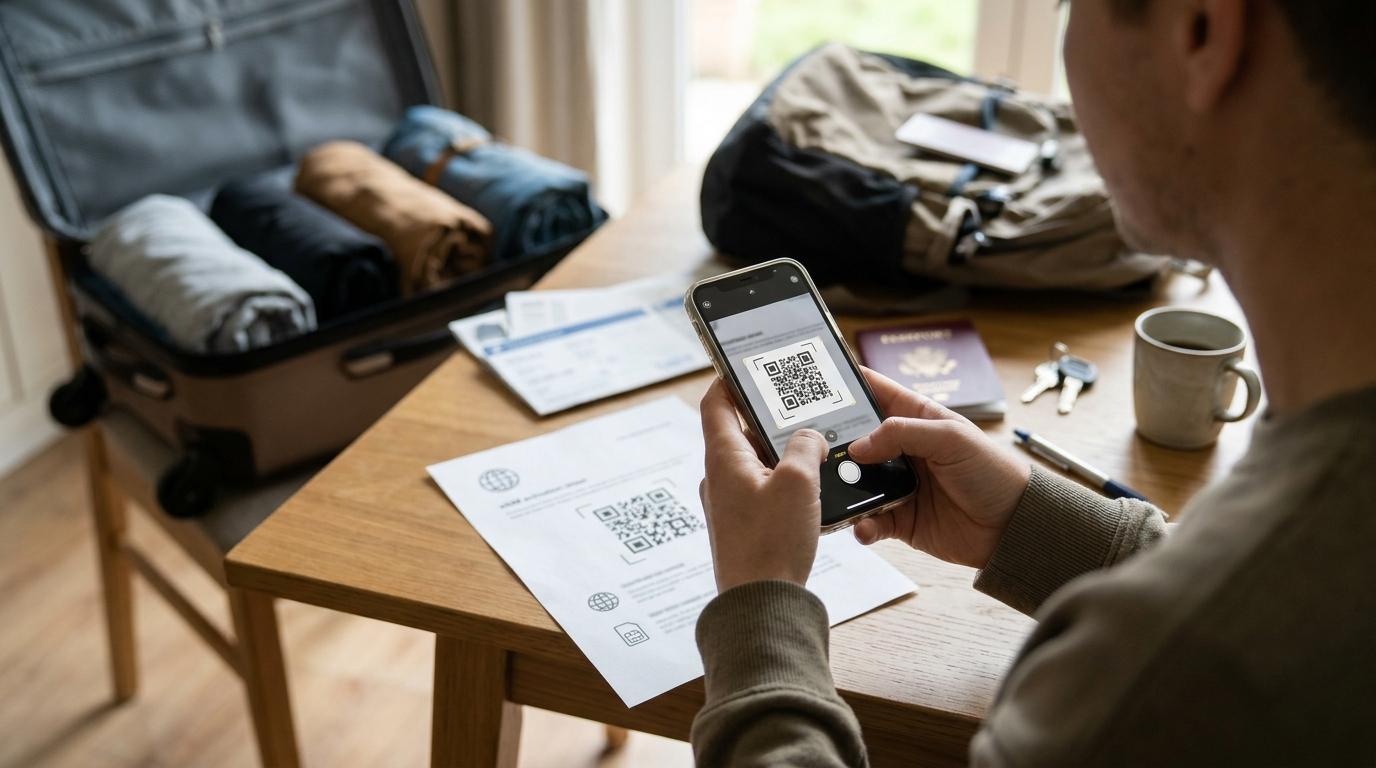
You bought a travel eSIM, you have a QR code in your inbox, and your flight leaves in two days. Now you're wondering whether to scan it tonight, wait until the airport, or do nothing until you land. Knowing how to activate eSIM service the right way comes down to timing and a few phone settings, and getting either one wrong can mean landing with no data, or burning days off your plan before the trip starts.
This guide covers the whole eSIM activation process: what to check before you buy, when to install, the exact steps on iPhone and Android, what to switch on after you land, and how to fix a connection that won't work.
Installing vs. Activating an eSIM: They're Not the Same Thing
Most confusion around eSIM setup comes from treating two separate steps as one.
Installing means downloading the eSIM profile onto your phone. You scan the QR code (or tap an install link), the phone contacts the provider's server, and a new line appears in your settings. This step needs an internet connection, usually Wi-Fi.
Activating means the eSIM actually connects to a mobile network and starts giving you service. For most travel eSIMs, this happens when you arrive in the destination, turn the line on, and your phone registers on a partner network there.
That distinction matters for two reasons. First, having an eSIM installed doesn't mean you have mobile service yet. You might see the new line in your settings at home with no signal at all, and that's normal. Second, with many providers the plan's validity period starts at activation, not at purchase or installation. A seven-day plan installed on Monday for a trip starting Friday usually still gives you seven days of use after you land. Policies vary, though, and some plans start counting from installation or from a fixed date after purchase, so check your plan details before you scan anything.
Before You Start: Make Sure Your Phone Is Ready
Confirm your phone supports eSIM
eSIM support depends on the exact model and sometimes the region where it was sold. Most iPhones from the XS and XR onward support eSIM, and many recent Samsung Galaxy, Google Pixel, and other flagship Android phones do too. Budget models and some regional versions may not, even when the flagship in the same lineup does.
A quick check: dial *#06#. If your phone shows an EID number along with the IMEI, it has eSIM hardware. You can also look in your settings for an option like "Add eSIM" or "Add mobile plan."
Check that your phone is unlocked
A carrier-locked phone may reject an eSIM from any other provider, even if the hardware supports it. On an iPhone, go to Settings > General > About and look for "Carrier Lock." If it says "No SIM restrictions," you're fine. On Android, the location of this information varies by brand, so the most reliable route is to ask your carrier directly. If your phone is locked and paid off, most carriers will unlock it on request, but don't leave this until the day before your flight.
Have Wi-Fi and the QR code ready
You'll need a stable internet connection to download the eSIM profile. If you plan to scan a QR code, it has to be on a separate screen (a laptop or another phone) or printed out, since you can't point your camera at your own screen. Newer iPhones let you long-press a QR code image to install it, and many recent Samsung models can scan a code from a saved screenshot, which helps when you're traveling with just one device.
Two more things before you install: turn off any VPN, since it can block the download, and treat the QR code as single-use. Many providers allow only one installation per code, and if you delete the eSIM afterward, you may not be able to reinstall it.
When to Install Your Travel eSIM
For most trips, the best time is a day or two before departure, while you're at home on reliable Wi-Fi. That leaves time to contact support if something goes wrong, and you won't be hunting for airport Wi-Fi with a line forming behind you.
Installing early is usually safe because activation waits until you connect in your destination. Apple made this easier with iOS 26, which treats travel eSIMs differently. You can install the plan at home, and the phone can prompt you to switch it on when it detects that you've arrived. On older iOS versions and on Android, you'll simply leave the line off until you land.
The exception is plans that start their clock on installation or purchase. If your provider works that way, install as close to departure as practical.
If you still need a plan for your destination, you can compare options and activate a travel eSIM before you start packing, so the QR code is ready well ahead of your flight.
How to Activate eSIM on iPhone
Menu names have shifted slightly across iOS versions ("Cellular" in the US, "Mobile Service" or "Mobile Data" in other regions), but the flow is the same.
Install the eSIM
-
Open Settings and tap Cellular (or Mobile Service).
-
Tap Add eSIM. If you see options to transfer from another phone, choose Use QR Code instead.
-
Scan the QR code from your provider. If scanning fails, tap Enter Details Manually and type in the SM-DP+ address and activation code from your purchase email.
-
Follow the prompts, then give the line a clear label like "Travel" or "Japan Data." This makes it much easier to tell your lines apart later.
-
When asked which line to use for cellular data, keep your home line selected for now if you're still at home.
On iOS 26, you may also be asked whether the plan is data only and whether it's for travel. Answer accurately, since this is what lets the phone handle the switch for you when you arrive.
Turn it on when you arrive
-
Go to Settings > Cellular and tap your travel eSIM.
-
Make sure Turn On This Line is enabled.
-
Turn on Data Roaming for the travel eSIM. This trips up a lot of people: your phone sees the travel line as roaming because the eSIM provider usually isn't a local carrier, so it won't connect without this setting enabled.
-
Go back, tap Cellular Data, and select the travel eSIM.
-
Turn off Allow Cellular Data Switching so your phone doesn't quietly fall back to your home line when the signal dips.
If iOS 26 shows a "Turn On Travel eSIM" prompt when you land, it handles most of these settings in one step.
How to Set Up eSIM on Android
Android phones follow the same logic, but the menu paths depend on the manufacturer and software version.
Samsung Galaxy
-
Go to Settings > Connections > SIM manager.
-
Tap Add eSIM, then Scan QR code from service provider. If you can't scan, choose the option to enter an activation code.
-
Confirm the download and give the plan a name.
-
Back in SIM manager, set Mobile data to the travel eSIM when you're ready to use it, and keep calls and messages on your home SIM if you want to stay reachable on your normal number.
-
Turn on Data roaming for the travel line.
Google Pixel and other Android phones
-
Go to Settings > Network & internet > SIMs.
-
Tap Add SIM or Download a SIM instead, then scan the QR code.
-
Follow the prompts and name the plan.
-
When you arrive, open the travel eSIM's settings, turn it on, set it as the line for mobile data, and enable Roaming.
On other brands, look for something like "Mobile network," "SIM cards & mobile networks," or "SIM card manager." If you can't find an eSIM option anywhere, your model or regional variant may not support it.
What to Do After You Land
Once you're off the plane, your phone needs a minute or two to find a partner network. If it hasn't connected on its own:
-
Make sure the travel eSIM line is turned on and selected for mobile data.
-
Confirm that data roaming is on for that line.
-
Toggle airplane mode on for about 10 seconds, then off, to force the phone to search for networks again.
When the signal bars show up and you can load a webpage, the eSIM is active. If your plan has a companion app or account page, it's worth checking that your data balance is counting down, which confirms you're using the eSIM and not your home carrier.
How to Keep Your Home Number Without Paying for Roaming
Most travel eSIMs are data-only. They give you mobile internet but no local phone number for regular calls or SMS. That's enough for most travelers, since messaging and calling apps like WhatsApp, iMessage, FaceTime, and Google Meet all work over data.
If your phone supports dual SIM, you can keep your home SIM active alongside the travel eSIM so bank verification texts and important calls still reach you. The catch is that your home carrier may charge roaming rates for calls, outgoing texts, or data on that line. To keep that under control:
-
Turn off data roaming on your home line so it never pulls mobile data abroad.
-
Leave your home line on for receiving texts only if your carrier's rates for that are acceptable. Check with them before you travel, since policies vary widely.
-
If you don't need your home number at all, turn that line off entirely for the trip.
If you need to make regular phone calls or receive texts on a local number, look for a plan that specifically includes calls and SMS. Don't assume a travel eSIM supports them unless the plan says so. The same goes for hotspot use: some plans allow tethering a laptop or tablet, and some don't.
Troubleshooting: When Your eSIM Won't Activate or Connect
The QR code won't scan
Increase the brightness on the screen showing the code, reduce glare, and move your phone closer or farther away. If it still won't work, use the manual activation details from your email. If you get an error saying the code has already been used, contact the provider instead of retrying, since repeated attempts won't fix a code that's already been claimed.
The eSIM installed but there's no signal
If you're still at home, this is expected. The plan won't activate until you're in a covered destination. If you've already arrived, check that the line is on, data roaming is enabled for it, and it's selected for mobile data. Then try a restart.
You have signal but no internet
This usually comes down to settings. Make sure mobile data is set to the travel eSIM, not your home line. Some plans also require a specific APN (access point name), which tells your phone how to reach the provider's data network. Most phones set it up automatically, but if your provider lists an APN in its setup instructions, enter it manually in the eSIM line's network settings.
Nothing works
Reset network settings as a last resort, but read your provider's guidance first. On some phones, a full network reset can affect saved Wi-Fi networks and, in rare cases, eSIM profiles. Contact the eSIM provider's support before deleting the eSIM, since deleting it often means you can't reinstall the same profile.
Frequently Asked Questions
Can I install an eSIM without Wi-Fi?
You need some form of internet connection to download the eSIM profile. Wi-Fi is the most reliable option, but mobile data from your home line can also work if you're still in range of your own network. Once installed, the eSIM doesn't need Wi-Fi to work; it connects directly to local mobile networks.
Can I use the same travel eSIM for a second trip?
It depends on the provider. Some plans let you top up the same eSIM so you don't have to install a new one, while others are single-use and expire after the validity period ends. If you travel often, a provider that supports top-ups can save you from repeating the setup each time.
Will a travel eSIM replace my regular SIM card?
No. On a dual SIM phone, the travel eSIM sits alongside your existing SIM or eSIM, and you choose which line handles data, calls, and texts. Your home plan stays intact, and you can switch your data back to it when you return. Many phones can store several eSIM profiles, but the number of lines active at the same time depends on the device.
Conclusion
The smoothest eSIM activation process starts at home: confirm your phone is unlocked and eSIM-compatible, install the profile a day or two before you leave, and save the actual activation for when you land. Most connection problems trace back to two settings: data roaming switched off on the travel line, or mobile data still pointed at your home SIM.
Get those right, and your phone should be online before you reach baggage claim, with your home number still within reach if you need it.
"I scanned the code at my kitchen table the night before, flipped it on when the plane landed, and had maps open before I got to passport control."


